I posted a picture of this door hanger I made a few weeks ago on facebook, but I figured I'd also post a little tutorial on how to make it.
It's pretty simple, and uses a lot of the same techniques I use when I make my stenciled frames!
Of course I didn't take step by step pictures because at the time I wasn't sure I would post a tutorial. So I'm going to try and do it without pictures :/
Okay so you'll need
1. A piece of plywood (or any other board/canvas)
2. Pumpkin cutout
3. Ribbon (two kinds)
4. Acrylic paint
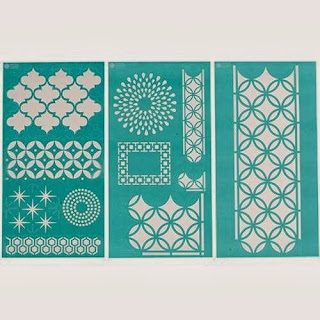
5. Stencil
6. Paint pen
7. Foam brushes
8. Craft glue
The two things on that list that are a little strange and you may not already have at home are the wood and pumpkin cutout but.....they are easily found at your local craft store!
Below is a link to the size plywood craft board I used..and also the pumpkin cutout.
 |
| Via |
 |
| Via (or local craft store) |
First, I painted the whole board my base color which was an antique white. Then using my stencil found here...
 |
| Via |
I stenciled my board with a color called "Mississippi Mud" which I now love!
Next it was time to paint my pumpkin. Now, the pumpkin was already orange when I got it but it was a very bright highlighter orange, so I went over it with another orange paint to tone it down a little. I also painted the edges brown to cover up the exposed white foam from my trimming. I then painted the stem a combination of green and brown, and the final step was to use brown and white paint to give it some dimension.
I then made a faux bow using this tutorial and glued it onto the pumpkin. Next, I used some painters tape and taped the pumpkin on temporarily so I could see where I wanted my text to be. Then using a gold paint pen I added on my text. After that all I needed to do was glue on my pumpkin and string some burlap through the top so I could hang it.
I'll probably be making one of these for every season and then one we can hang when there isn't a holiday because I love the color it adds to the pantry door :)


No comments:
Post a Comment